[Windows][Advanced] Canary + XAMPP + MyAAC

1 - Download Canary:

Canary:

  • Download Canary server;

  • Extract Canary server in a folder of your preference.

Compiled Canary:

2 - Download XAMPP:

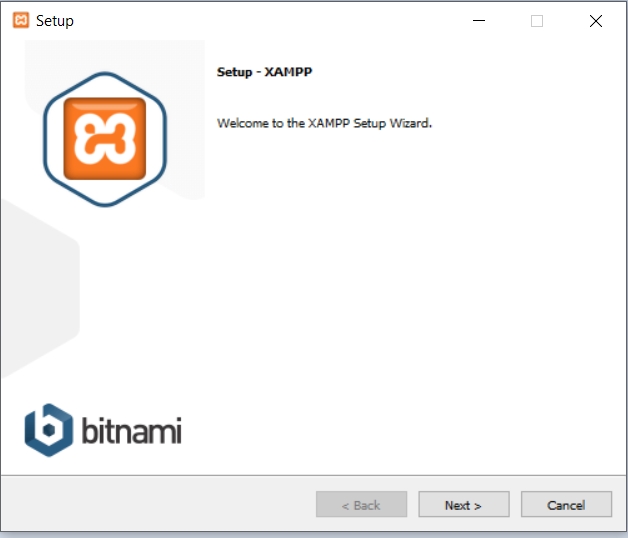
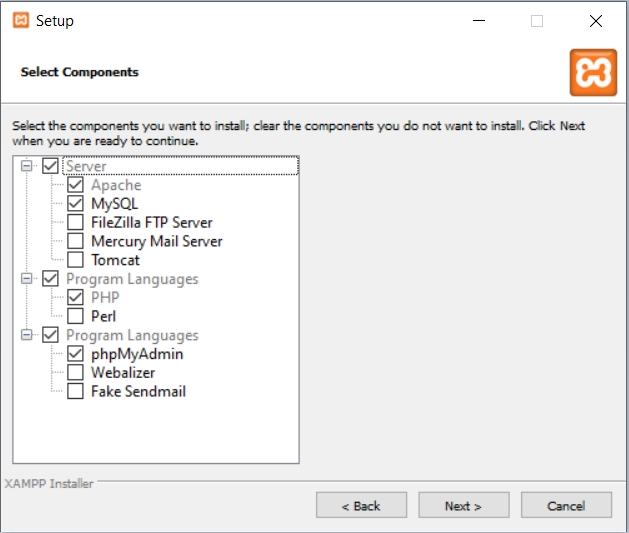
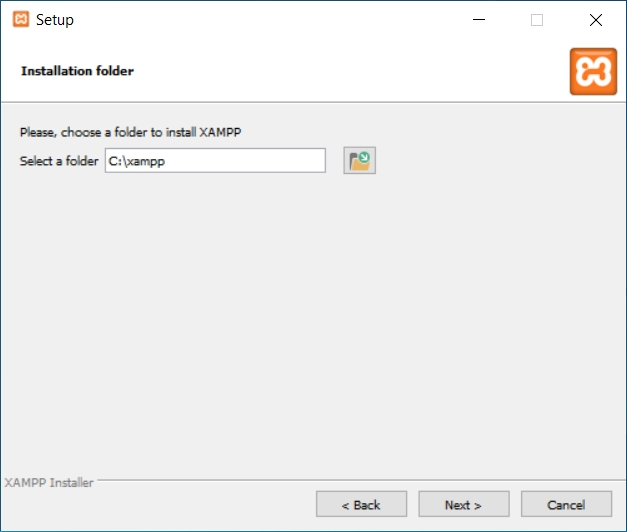
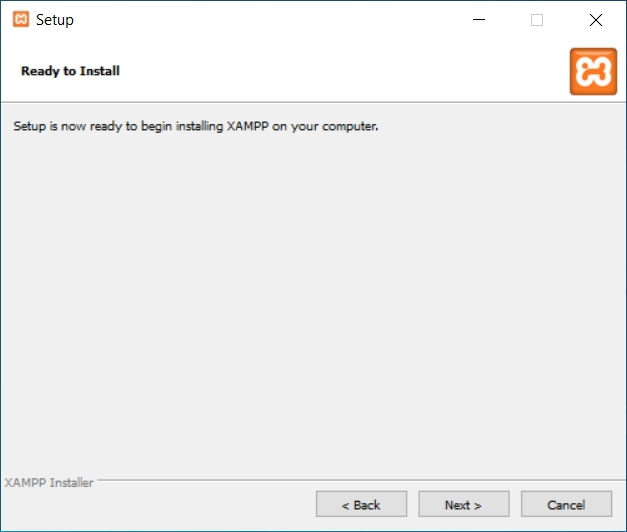
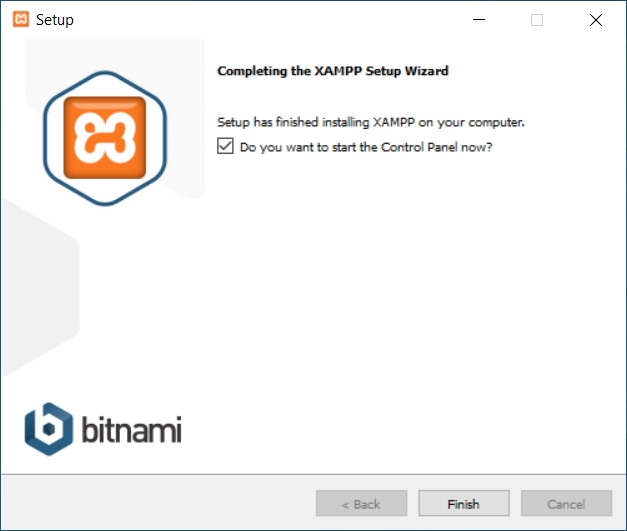
3 - Installation XAMPP:

4.1 - Configuration XAMPP:

4.1.1 - Enable PHP Extensions:

  • Open XAMPP.

  • Apache Actions -> Config -> PHP (php.ini).

  • Enable the PHP extensions uncommenting the lines with ;

  • extension=gd

  • extension=zip

4.1.2 - Start XAMPP:

  • On Apache, click in the Start button;

  • On MySQL, click in the Start button.

  • It should be like this:

4.1.3 - MySQL password change:

  • Check if apache and mysql services are running, then click the Shell button.

  • In the shell that opened - command line - enter the following command:

mysqladmin.exe -u root password your-new-password

  • Password changed.

4.1.4 - PhpMyAdmin password change:

$cfg['blowfish_secret'] = 'xampp'; /* YOU SHOULD CHANGE THIS FOR A MORE SECURE COOKIE AUTH! */
  • Change the authentication mode to:

$cfg['Servers'][$i]['auth_type'] = 'http';
  • Change the password, remember to use the password you changed in the Shell:

$cfg['Servers'][$i]['password'] = 'your-new-password';
  • Change the AllowNoPassword option to:

$cfg['Servers'][$i]['AllowNoPassword'] = false;

All right, let's go. Your MySQL and PHPMyAdmin are configured for the new password. Now you only always use it when installing an application that connects to a MySQL Database.

4.1.5 - Change of port 80 in XAMPP:

  • By default, some software, other local server, Windows firewall use port 80. Below are the steps on how to change port 80 in XAMPP:

  • Open the XAMPP panel and click the Apache Config button;

  • Choose the file called httpd.conf. It has all apache operating parameters;

  • Press the Ctrl + F keys and search for the word Listen 80;

  • Add one more number 80 (or 90) to the end of this parameter by getting: Listen 8080; (or Listen 8090;)

  • Search for another keyword called ServerName and add the 80 (or 90) in localhost:8080; (or localhost:8090;)

  • Save and close the file;

  • Go back to the Dashboard and click the Config icon;

  • Then go to Service and Port Settings;

  • Add the 8080 (or 8090)in the Main Port;

  • After these steps try to start your Apache, check if you have the green icon, open your browser, type http://127.0.0.1:8080 (or http://127.0.0.1:8090)and analyze if you can access the Dashboard of your XAMPP.

4.1.6 - Domain configuration in vhosts:

  • In addition to people being able to access your site by your domain, you need to configure the vhost file in XAMPP:

  • Open the httpd-vhosts.conf file (C:\xampp\apache\conf\extra).

  • Edit the following lines:

##<VirtualHost *:80>
    ##ServerAdmin webmaster@dummy-host2.example.com
    ##DocumentRoot "C:/xampp/htdocs/dummy-host2.example.com"
    ##ServerName dummy-host2.example.com
    ##ErrorLog "logs/dummy-host2.example.com-error.log"
    ##CustomLog "logs/dummy-host2.example.com-access.log" common
##</VirtualHost>
  • Switch to your domain.

  • Examples:

  • Example 1:

<VirtualHost seusite.com:80>
    ServerAdmin seuemail@xd.com
    DocumentRoot "C:/xampp/htdocs"
    ServerName seusite.com
    ErrorLog "logs/seusite.com-error.log"
    CustomLog "logs/seusite.com-access.log" common
</VirtualHost> 
  • Example 2:

<VirtualHost seusite.com:8080>
    ServerAdmin seuemail@xd.com
    DocumentRoot "C:/xampp/htdocs"
    ServerName seusite.com
    ErrorLog "logs/seusite.com-error.log"
    CustomLog "logs/seusite.com-access.log" common
</VirtualHost> 
  • Example 3:

<VirtualHost seusite.com:8090>
    ServerAdmin seuemail@xd.com
    DocumentRoot "C:/xampp/htdocs"
    ServerName seusite.com
    ErrorLog "logs/seusite.com-error.log"
    CustomLog "logs/seusite.com-access.log" common
</VirtualHost> 

4.2 - Domain configuration (or external ip) in the Windows hosts file:

  • You have to put your external ip in config.lua for others to connect, but sometimes that makes you unable to connect to your own server.

  • Specify your domain (or external ip) in config.lua, it will look like this:

  • ip = "example.com"

  • Open the C:\Windows\System32\drivers\etc\hosts file and add:

192.168.0.1 example.com

(IPv4) (domain)

4.3 - Ports:

  • Make sure ports 80 (or 8080, 8090), 7171, 7172 are open for the connection to work properly.

  • To release the ports, search for the model of your modem/router. Below a site with guides for various routers to assist in the release of ports:

https://portforward.com/router.htm

5 - Database:

  • Access PHPMyAdmin from your domain address.

  • On the left side click on +New and create a database (e.g. canary).

  • Import the schema file.sql which is in the Canary server folder.

6 - Config.lua:

• For data-canary:

-- Core settings
-- Note: If you want to use datapack folder canary (custom), put only "data-canary"
-- If you want to use the global datapack folder, put "data-otservbr-global"
-- If "useAnyDatapackFolder" is set to true then you can choose any datapack folder for your server
useAnyDatapackFolder = false
dataPackDirectory = "data-canary"
-- Don't change this unless you know what you're doing
coreDirectory = "data"

-- Map
-- NOTE: set mapName WITHOUT .otbm at the end
-- NOTE: If toggleDownloadMap if false, then the mapDownloadUrl will not be used
-- NOTE: If a map with the name already exists in the world folder, the map will not be downloaded even if the toggleDownloadMap is true
toggleDownloadMap = false
mapName = "canary"
mapDownloadUrl = "https://github.com/opentibiabr/canary/releases/download/v3.0.0/otservbr.otbm"
mapAuthor = "OpenTibiaBR"

-- Custom Map
-- NOTE: toggleMapCustom set to true will load all maps in custom map folder
toggleMapCustom = false

-- Connection Config
ip = "example.com"
serverName = "Canary"

-- MySQL
mysqlHost = "127.0.0.1"
mysqlUser = "root"                      
mysqlPass = "your-new-password"                       
mysqlDatabase = "canary"        
mysqlPort = 3306
mysqlSock = ""
passwordType = "sha1"

For data-otservbr-global:

-- Core settings
-- Note: If you want to use datapack folder canary (custom), put only "data-canary"
-- If you want to use the global datapack folder, put "data-otservbr-global"
-- If "useAnyDatapackFolder" is set to true then you can choose any datapack folder for your server
useAnyDatapackFolder = false
dataPackDirectory = "data-otservbr-global"
-- Don't change this unless you know what you're doing
coreDirectory = "data"

-- Map
-- NOTE: set mapName WITHOUT .otbm at the end
-- NOTE: If toggleDownloadMap if false, then the mapDownloadUrl will not be used
-- NOTE: If a map with the name already exists in the world folder, the map will not be downloaded even if the toggleDownloadMap is true
toggleDownloadMap = true
mapName = "otservbr"
mapDownloadUrl = "https://github.com/opentibiabr/canary/releases/download/v3.0.0/otservbr.otbm"
mapAuthor = "OpenTibiaBR"

-- Custom Map
-- NOTE: toggleMapCustom set to true will load all maps in custom map folder
toggleMapCustom = true

-- Connection Config
ip = "example.com"
serverName = "OTServBR-Global"

-- MySQL
mysqlHost = "127.0.0.1"
mysqlUser = "root"                      
mysqlPass = "your-new-password"                       
mysqlDatabase = "otservbr-global"        
mysqlPort = 3306
mysqlSock = ""
passwordType = "sha1"

7 - MyAAC:

7.1 - Download MyAAC:

7.2 - Installation MyAAC:

  • Open XAMPP htdocs folder and delete all files before saving the files and folders from MyAAC.

  • Unzip MyAAC files and folders in the XAMPP htdocs folder.

  • Leave all MyAAC files and folders as shown in the example below:

  • If you are installing on localhost, access http://127.0.0.1 to load MyAAC installation.

  • If you are installing with ip or domain, access http://your-ip-or-domain to load MyAAC installation.

  • Follow the installation steps to install MyAAC.

  • When choosing the version, select 13.16.

8 - Starting and Connecting to the Server:

8.1 - Starting the Server:

  • Double click canary.exe, it will start the server.

8.2 - Connecting to the Server:

  • To connect to the server according to the indicated version, you need the client below:

  • In the client you need to edit the IP like the examples below:

  • http://127.0.0.1/login.php

  • http://127.0.0.1:8080/login.php

  • http://127.0.0.1:8090/login.php

  • http://domain-or-ip/login.php

  • http://example.com/login.php

• How to edit the client:

9 - Credits:

Last updated